About me
| Thursday | +21° | +17° | |
| Friday | +22° | +12° | |
| Saturday | +28° | +14° | |
| Sunday | +19° | +10° | |
| Monday | +18° | +15° | |
| Tuesday | +18° | +15° |
My Licenses
Font of choice.
Unless noted, I used a drop shadow of vertical 3, horizontal 5, opacity
75, blur 10.
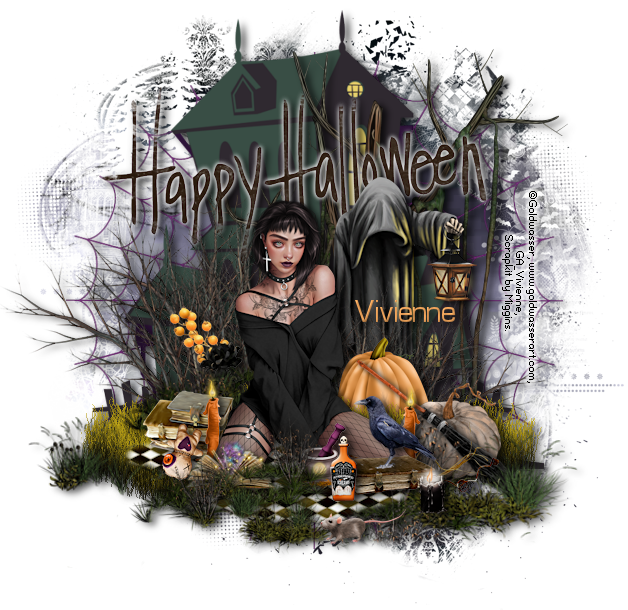
Open a new transparent canvas 750 by 750 pixels and fill with white.
Paste Fecnikek's mask, resize 17%, select all, float and defloat, make a new layer, paste paper 7 into the selection, deselect and delete the original black mask layer.
Paste element 14, resize 70% and apply the shadow.
Paste element 20, resize 70%, position and apply the shadow.
Paste element 24, position and apply the shadow.
Paste element 23, resize 60%, apply a drop shadow of vertical and horizontal 0, opacity 100, blur 7 with the box "shadow on a new layer" checked. Now duplicate this white shadow layer, merge the text down onto each copy and then apply the black shadow we have been using, move into place.
Paste element 27, resize 30%, mirror, position and apply the shadow.
Paste element 16, resize 90%, position on the left, duplicate, mirror the copy and resize it another 80%, position on the right and apply the shadow to each.
Paste the tube, resize 15%, position and apply the shadow.
Paste element 7, resize 15%, position below the tube and apply the shadow.
Paste element 5, resize 15%, position and apply the shadow.
Paste element 6, resize 18%, position and apply the shadow.
Paste element 9, duplicate, position either side of the tube and apply the shadow to each.
Paste element 8, resize 40%, position and apply the shadow.
Paste element 28, resize 40%, position and apply the shadow.
Paste element 11, resize 110%, position and apply the shadow.
Paste element 19, resize 20%,mirror, position and apply the shadow.
Paste element 17, resize 30%, duplicate, mirror one copy, position and apply the shadow.
Paste element 25, resize 20%, flip, rotate 20 degrees to the right, position and apply the shadow.
Paste my mask, resize 60%, select all, float and defloat, make a new layer, paste paper 12 into the selection, deselect, delete the original black mask layer and move the paper one into place.
Paste element 13 on the top, resize 25%, position and apply the shadow.
Paste element 15, resize 40%, position and apply the shadow.
Paste element 26, resize 10%, position and apply the shadow.
Paste element 18, resize 20%, position and apply the shadow.
Paste element 21, resize 15%, position and apply the shadow.
Paste element 3, resize 15%, position and apply the shadow.
Paste element 2, resize 12%, position and apply the shadow.
Paste element 12, resize 15%, position and apply the shadow.
Check your layers and make any adjustments. I erased the 2 long lines at the bottom of the mask.
Paste element 11 again, move into place using my tag as reference and erasing most of the bottom part of it so you just have a little at the bottom of the tag, drag below element 12 and apply the shadow.
Add your copyright information and text, crop and export your tag as a png.
COPYRIGHT
Search Blog
Labels
- Animated
- beginners
- Bonus tube
- Bundle
- Christmas
- Creative Design Outlet
- Easter
- Exclusive tube
- Fall
- Freebie kit
- FTU kit
- FTU tube
- FTU with purchase
- Goldwasser
- Halloween
- Independence Day
- Jeff Haynie
- Jenn's Designs
- learning
- misticheskaya
- Miztueeqe
- My Tagging Addiction
- New Year
- No tube
- PTU kit
- PTU kit with tube
- PTU tube
- Snag tags
- Spring
- St. Patricks
- Summer
- Taggerworld
- Thanksgiving
- Valentine
- Winter


0 comments:
Post a Comment